Below is a step-by-step guide to to setting up a FIDO2/Security Key for MFA using Yubico’s YubiKey as an example.
1
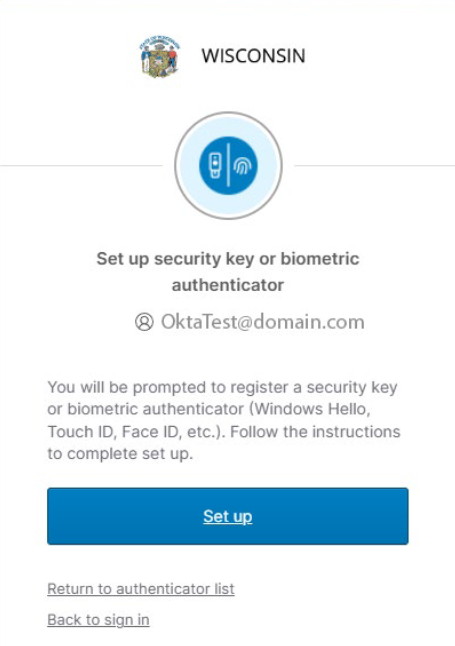
Getting Set Up
To add a YubiKey or other FIDO2 authenticator, select
Set up under “Security Key or Biometric Authenticator" from the list of MFA options during MyWisconsin ID account creation.

2
Setup Process
Click
Set up on the next prompt to begin the Security Key registration process.
3
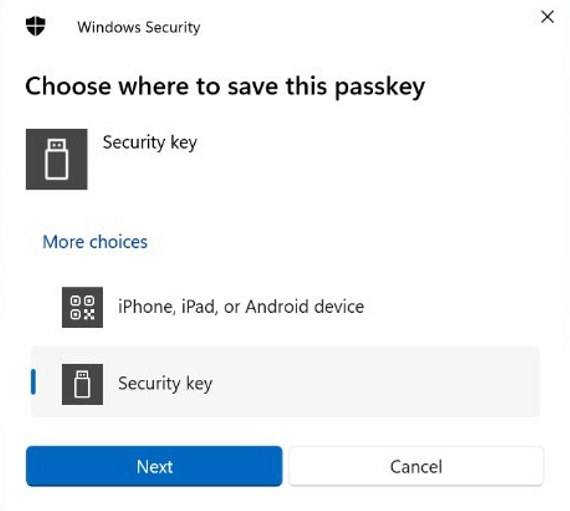
Save Passkey
You will be asked where to save the passkey. To continue with a YubiKey or other FIDO2 device, select
Security Key and click
Next.
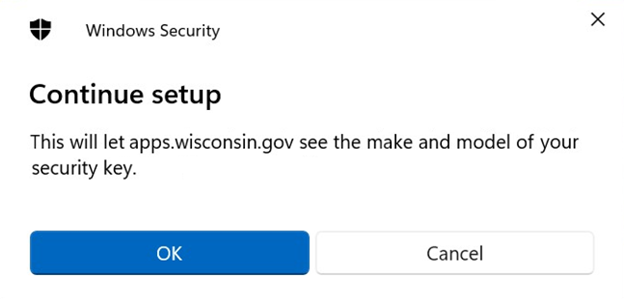
4
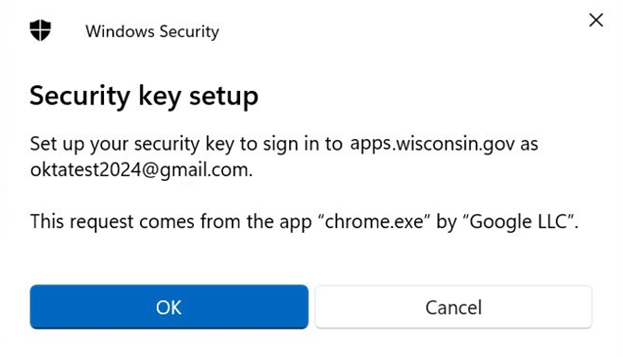
Confirm Registration Request
The next two prompts are to confirm the details of the registration request for this security key. Click
OK to continue.
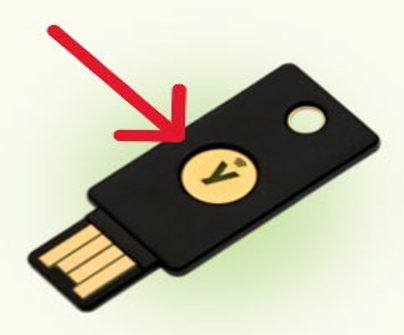
5
Activate Physical Key
If this is the first time using your YubiKey, you will need to push the button with a “Y" in it on the back.
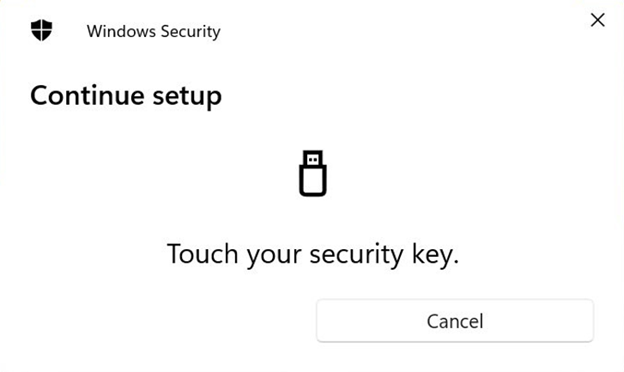
6
Sync YubiKey to Windows Security
You will then be prompted to tap your YubiKey to finalize the registration process.
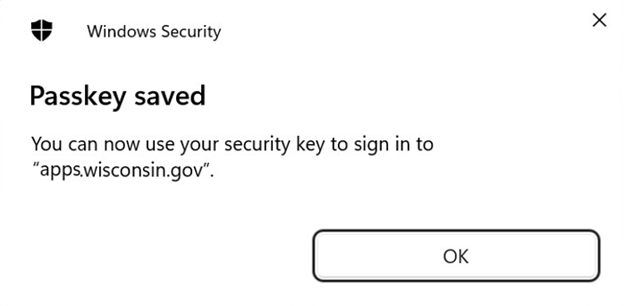
7
Setup Complete
Your security key registration is now complete. The next time you use your MyWisconsin ID account to login to a State service, you will be asked to enter your password followed by MFA. When prompted for MFA, push the button with a “Y" in it on the back of your YubiKey to proceed.