Below is a step-by-step process for unlocking your MyWisconsin ID account. For detailed information on managing your account go to
MyWisconsin ID Account Management Quick Reference Guide.
1
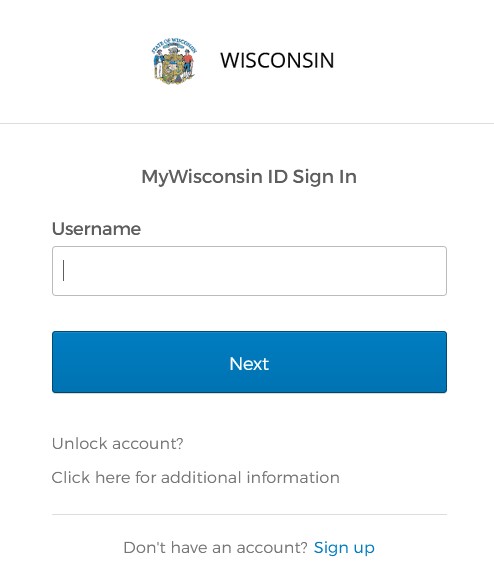
User Needs to Unlock Account
From the sign-in page, select
"Unlock account?" link.
To unlock your account, click the
"Unlock account?" link.
2
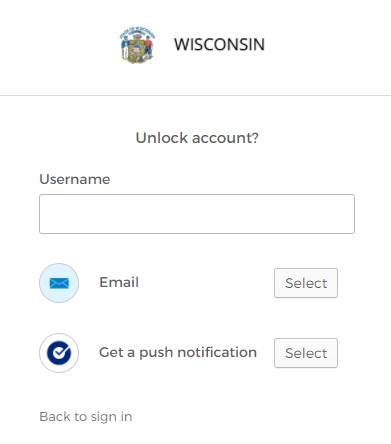
Initiate Account Unlock (Email)
Enter your MyWisconsin ID username and click
"Select" on the
"Email" option. Enter your MyWisconsin ID username. Click
"Select" on the Email option.
3
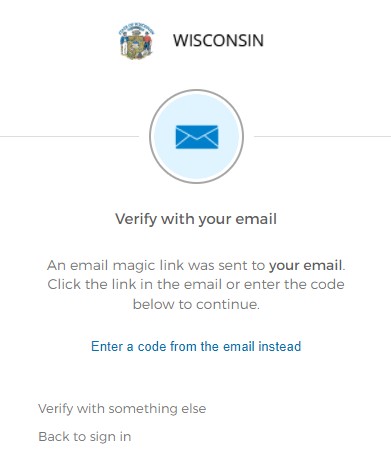
Account Unlocked Notification
Email sent notification on the screen.
Check your email for the Unlock Account link.
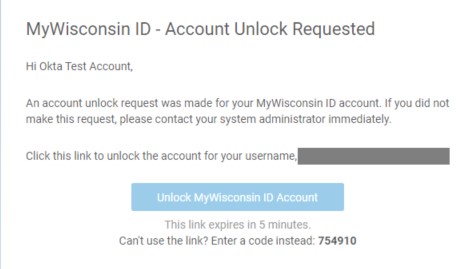
4
Email Received
Email received with the unlock link.
Click the
"Unlock MyWisconsin ID Account" button in the email.
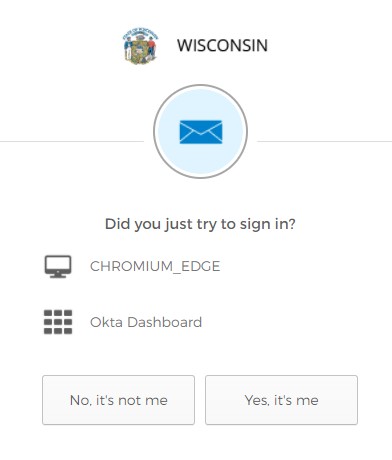
5
Verify Sign-in Notification
Select
"Yes, it's me." button.
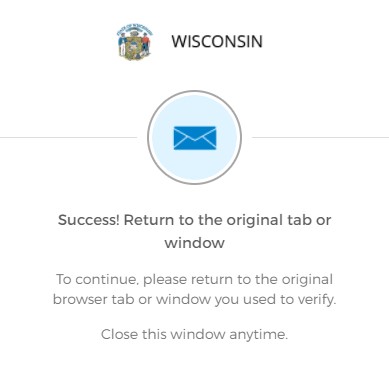
6
Start MFA Verification
You will be directed to complete MFA verification to complete your account unlock.
A new window will open to complete a MFA verification
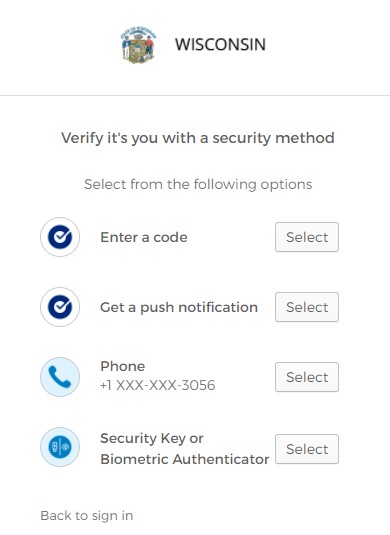
7
Complete MFA Verification
Pick one of your enrolled MFA methods and click
"Select".
To unlock your account, you will need to complete an MFA verification. Select one of your MFA methods and complete the MFA verification.
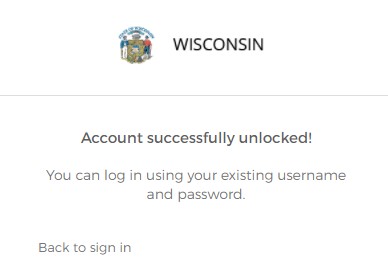
8
Account Unlock Verification
You will receive confirmed that your account has been unlocked. You have now successfully unlocked your account.